5 easy steps - chrome trim installation.
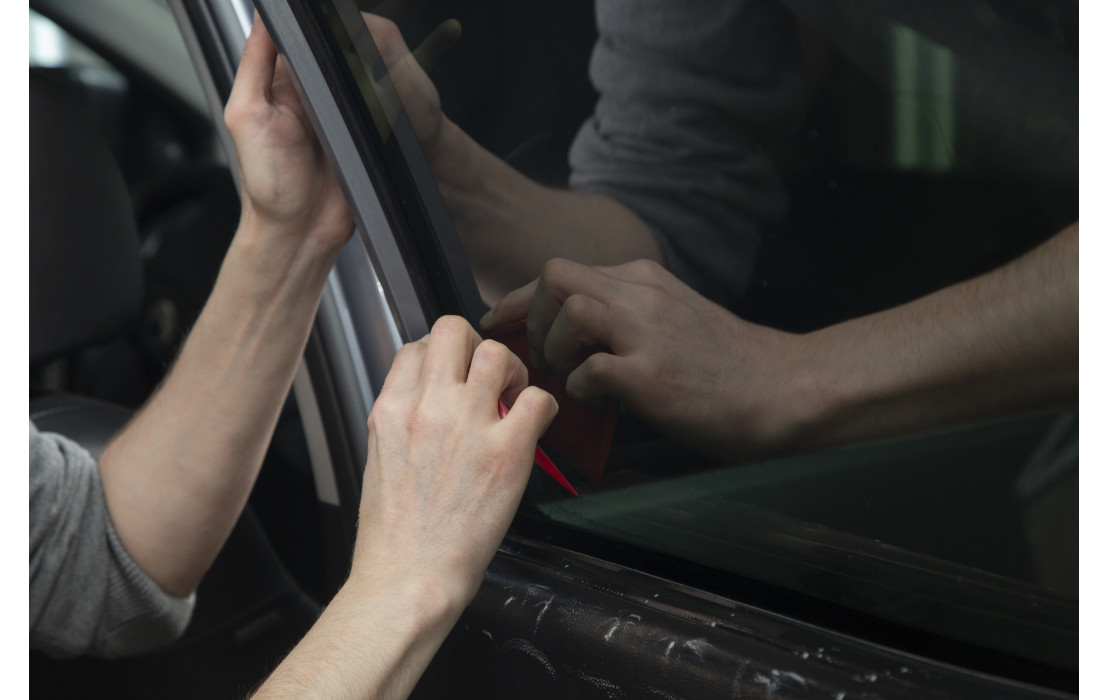
Here are five simple steps that will help you install car chrome strips in your vehicle: Step 1: Surface preparation Make sure that the surface on which you will install the chrome strips is clean and dry. If there is dirt, dust or grease, use soap and water to remove it, then dry the surface with a clean cloth. Step 2: Preparing the slats Remove the chrome strips from the packaging and clean them thoroughly to remove dust and dirt residues. Step 3: Find a suitable place Find the place where you want to mount the chrome strips. Step 4: Attaching the slats Stick the adhesive tape to the chrome strips, and then carefully apply the strip to the selected surface. Press the strip firmly for a few seconds so that the adhesive tape adheres well to the surface. Repeat this step for each skirting board you want to install. Step 5: Completing the assembly Wait a few hours before driving your car so that the adhesive tape can stick well. After the time has elapsed, check that the slats are well attached and do not tend to peel off. If everything is in order, you can enjoy your new, elegant chrome strips in your car! I hope this short guide helped you to install chrome strips in your vehicle. Please note that each car may require a slightly different installation procedure, so always read the manufacturer's instructions before beginning installation.
Leave a Reply Cancel Reply